
Build the cut before decorating it
Begin with the approved source and the campaign’s duration, footage and posting requirements. Find the earliest frame that gives the viewer enough context, then end after the payoff. If the source needs a long explanation before it becomes interesting, choose a better moment rather than trying to rescue it with a louder caption.
In a portrait frame, decide what must stay visible. A speaker’s face is not always the only subject: a game result, product demonstration or second person’s reaction may be essential. Scrub through the full cut instead of approving the crop from its opening frame.
Leave room for the destination app’s interface. Place captions where they remain readable without covering a face, a demonstration or the important part of the gameplay. The safest placement depends on the content and platform, so check a phone preview rather than assuming one template works everywhere.
Use automatic captions as a first pass
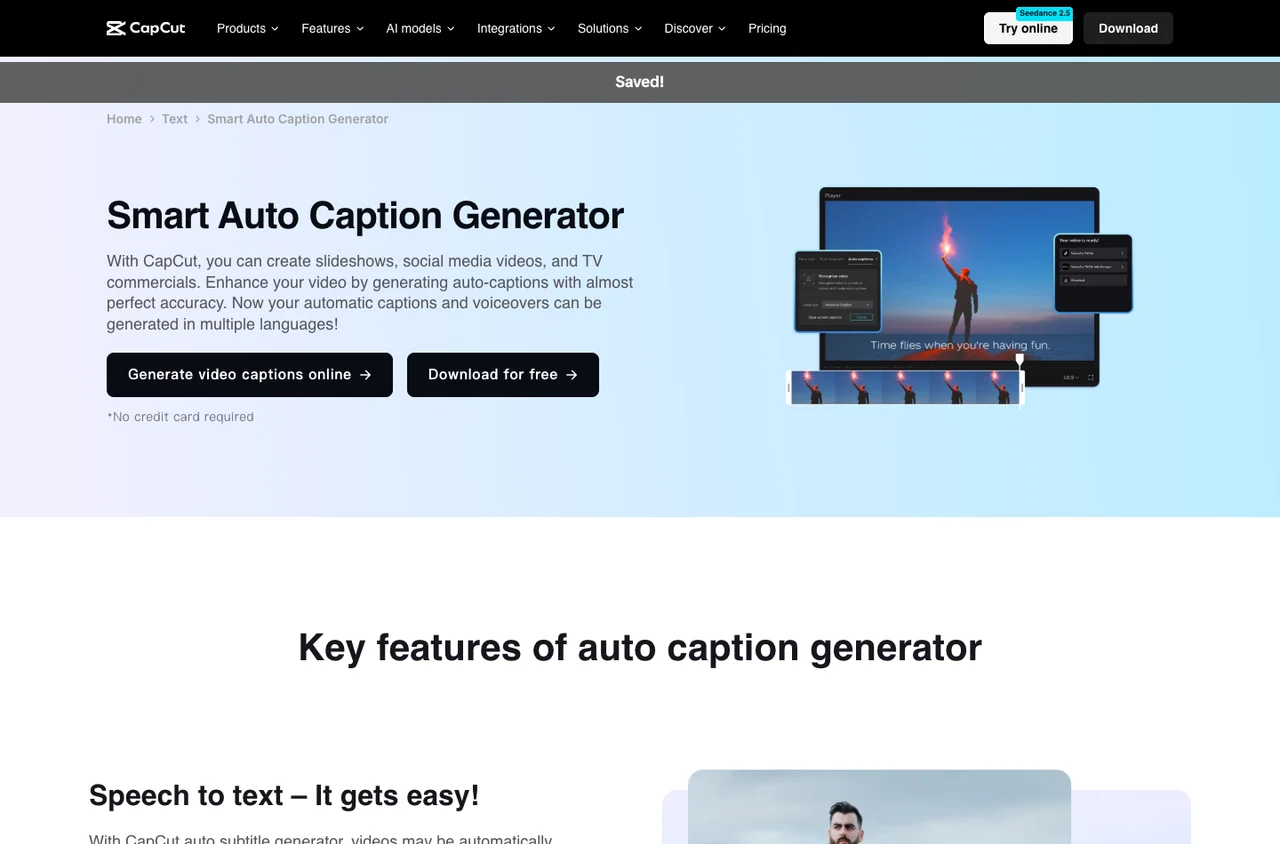
CapCut’s caption tool page shows speech recognition, editable caption segments and styling controls. Automatic transcription removes some typing; it does not remove the need to listen. Names, slang, overlapping speakers and background music are useful stress tests.
Correct words before applying a style. Then check punctuation and line breaks so a sentence is not split at an awkward point. Keep each caption on screen long enough to read, especially where the speaker speeds up or the edit cuts between takes.
Watch once with the sound off and once without reading the captions. The silent pass tests whether the text conveys the message; the listening pass catches an abrupt edit that attractive text can conceal. For a paid campaign, also check whether captions, logos or other overlays have specific requirements.